luges Stammtisch – 2019-07-03
This month’s come together will be held on 2019-07-03, 8pm not at our regular pub (see our mailing list for details).


This month’s come together will be held on 2019-07-03, 8pm not at our regular pub (see our mailing list for details).
This month’s come together will be held on 2019-06-05, 8pm not at our regular pub (see our mailing list for details).

A hogshead
(abbreviated "Hhd", plural "Hhds") is a large cask of liquid (or, less often, of a food commodity). More specifically, it refers to a specified volume, measured in either imperial or US customary measures, primarily applied to alcoholic beverages, such as wine, ale, or cider. — Hogshead – Wikipedia
It must have been in 1999 when a group of four friends (including myself) started to think about buying a whisky cask. A whisky cask full of whisky of course. We agreed to buy the cask from the Springbank distillery in Campbeltown, Scotland, because it was, at that time (and probably still is), one of the few distilleries which were malting their barley themselves as well as performing their own bottling.

Our hogshead in 2003
The cask we bought was a hogshead which in our case meant 242 litres of 100 proof Springbank whisky, distilled in November 2000 (see picture). The hogshead we went with was a Sherry refill cask and our whisky was the second whisky in this Sherry cask (that is what the B stands for in the picture). The price included the whisky and the cask itself and 10 years in Springbank’s warehouse. One important information at this point, which we ignored or which we did not care, is that the whisky in the cask in the warehouse is not yet taxed. Once you want to get the whisky out of the warehouse and bottled it will be taxed. A lot.

Cask Owners Privilege Card
Now that we owned a whisky cask in Scotland we made plans to visit it (of course). The first visit was in July 2003 from which we still have the first picture of our cask as well as some notes from the stillman.

Stillman notes 2003
In addition to the visit and the picture we were able to get one sample bottle of our whisky and for the first time we were able to taste it. At that time it still tasted very alcoholic and was not as smooth as it is now. At that time our whisky has been less than three years in its cask and has not had enough time to mature. Having matured less than three years our whisky could not even be called a scotch yet.

First bottles (left:2003 right:2007)
Our next visit to the Springbank distillery was in 2007. We did a distillery tour and were also able to visit our cask again. We were also able to get another sample bottle from our whisky.


In 2008 we ordered the first 8 bottles of our whisky and they soon arrived:

2008 8 bottles
In 2010 the whisky had its 10 years to mature in the cask and we started discussions with the distillery to get one part of our whisky bottled. The minimum number of bottles to start the bottling is 120. The remaining whisky should stay in the cask for 5 more years. After selecting a label and how the bottles would be transported to us, 120 bottles of single cask Springbank cask strength arrived at my door in March 2011.

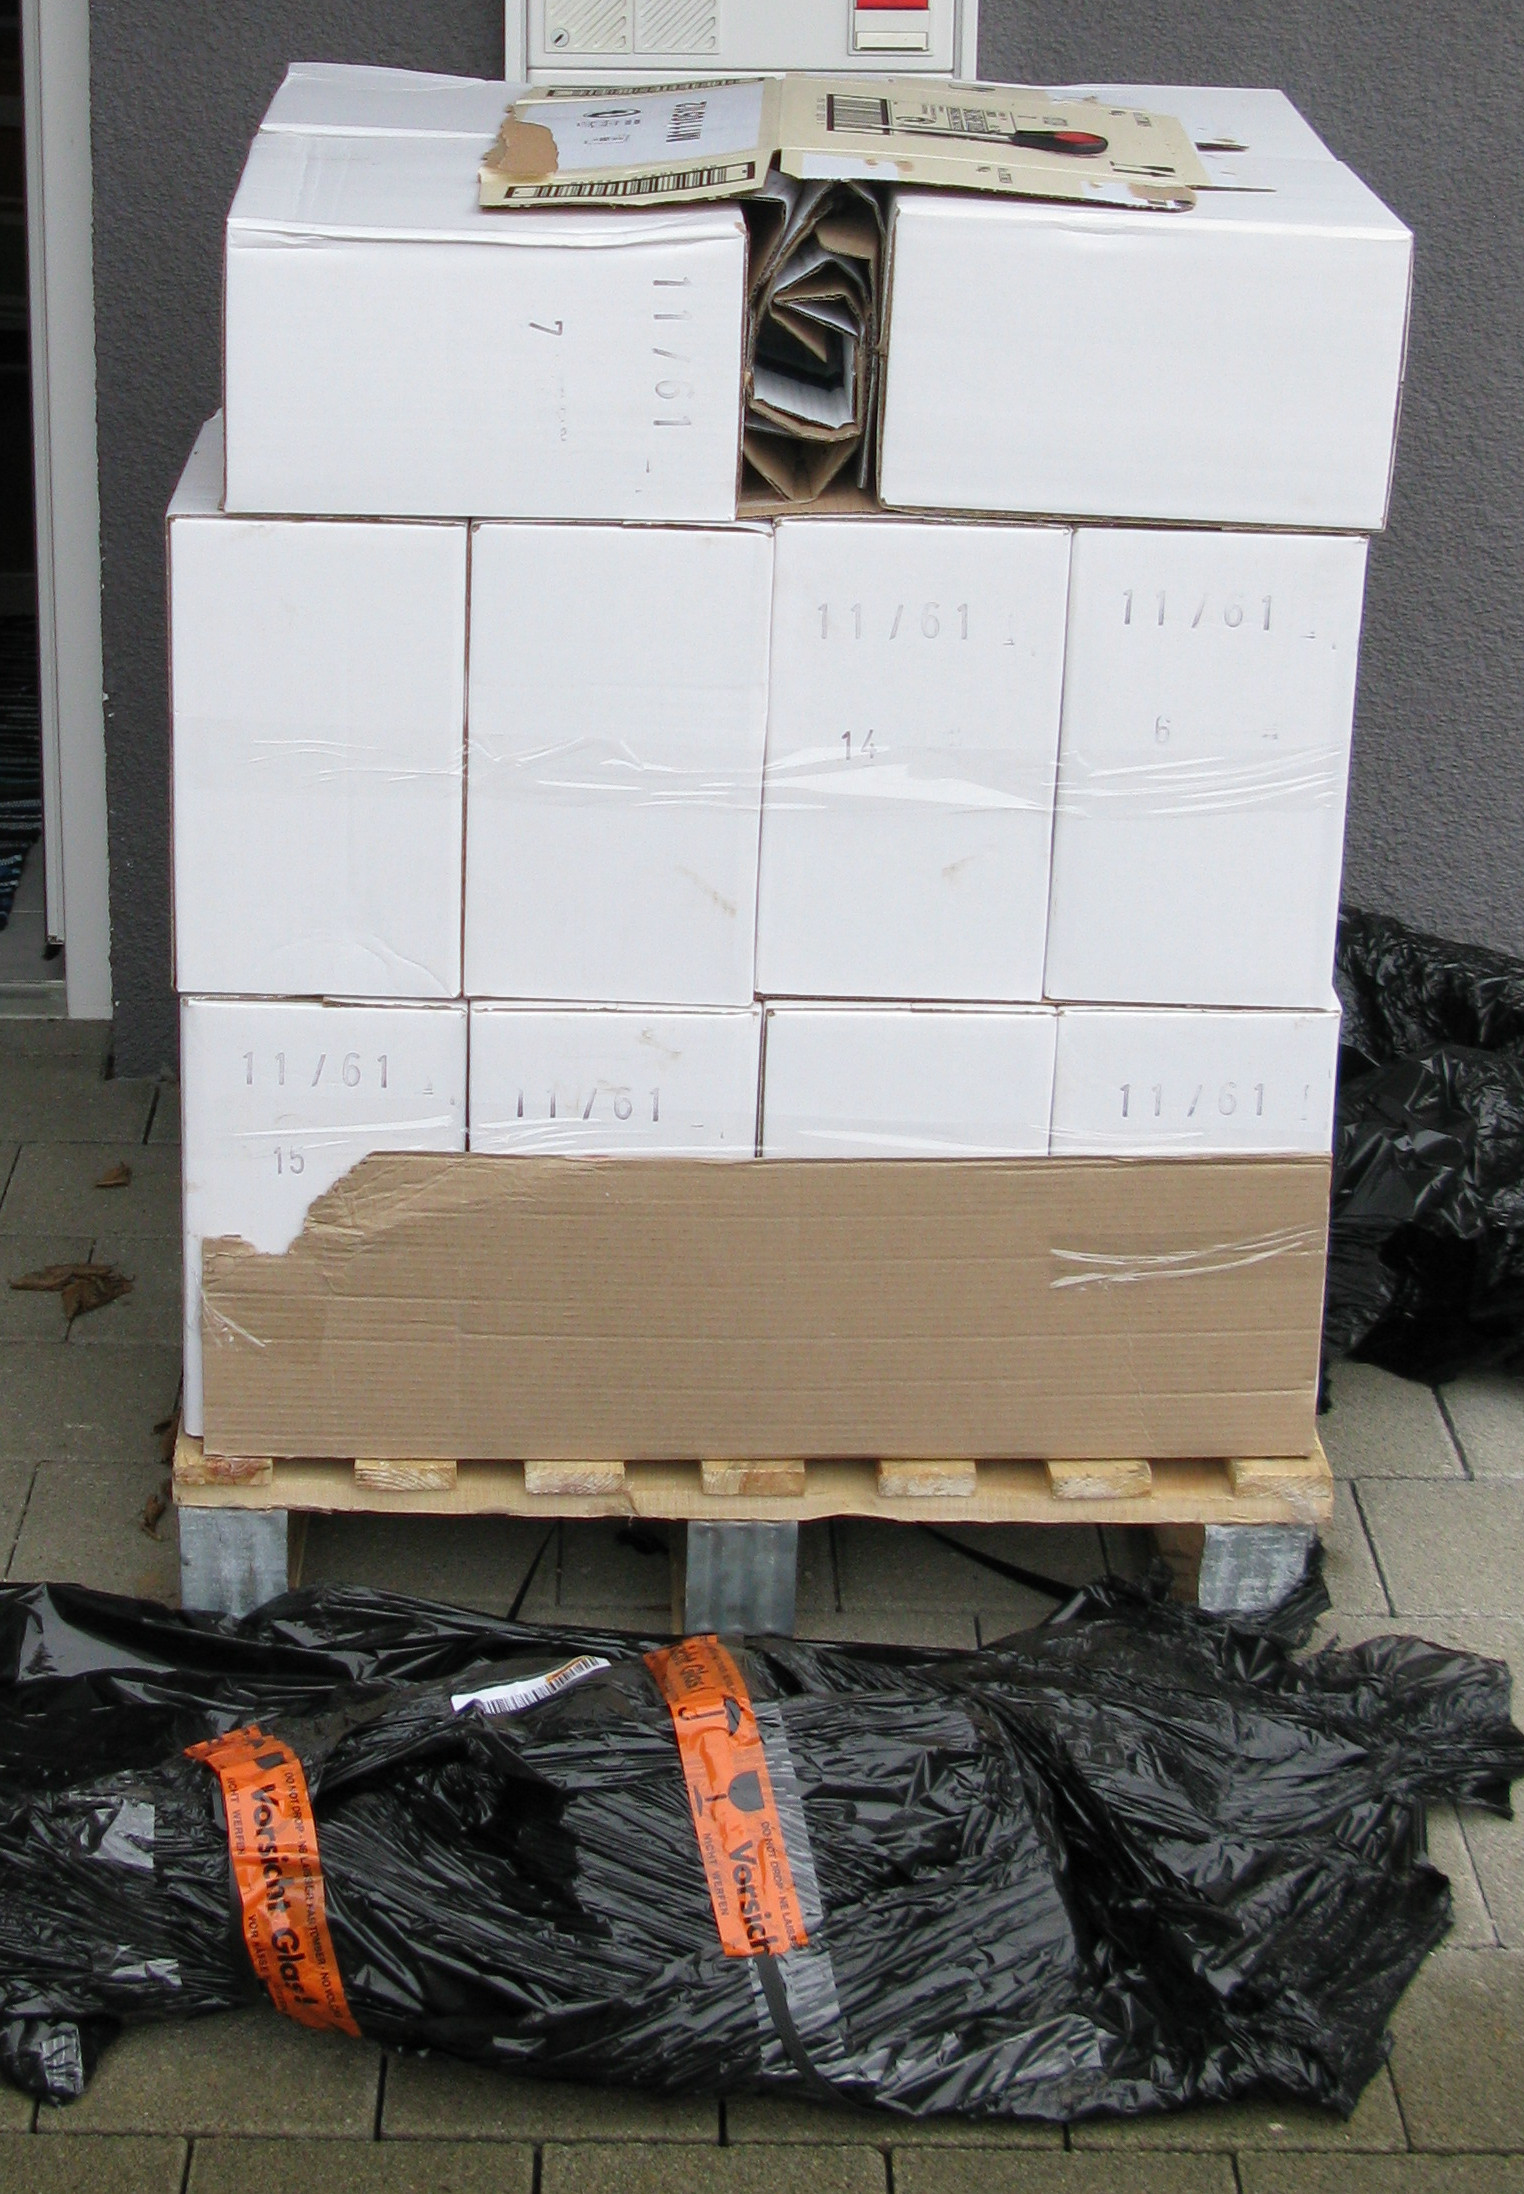


After 5 more years in the warehouse we decided to bottle the remaining whisky and in April 2016 156 bottles of our remaining single cask Springbank in cask strength were shipped. After 10 years the whisky had 54.8% vol alcohol and after 15 years it went down to 51.8% vol alcohol.
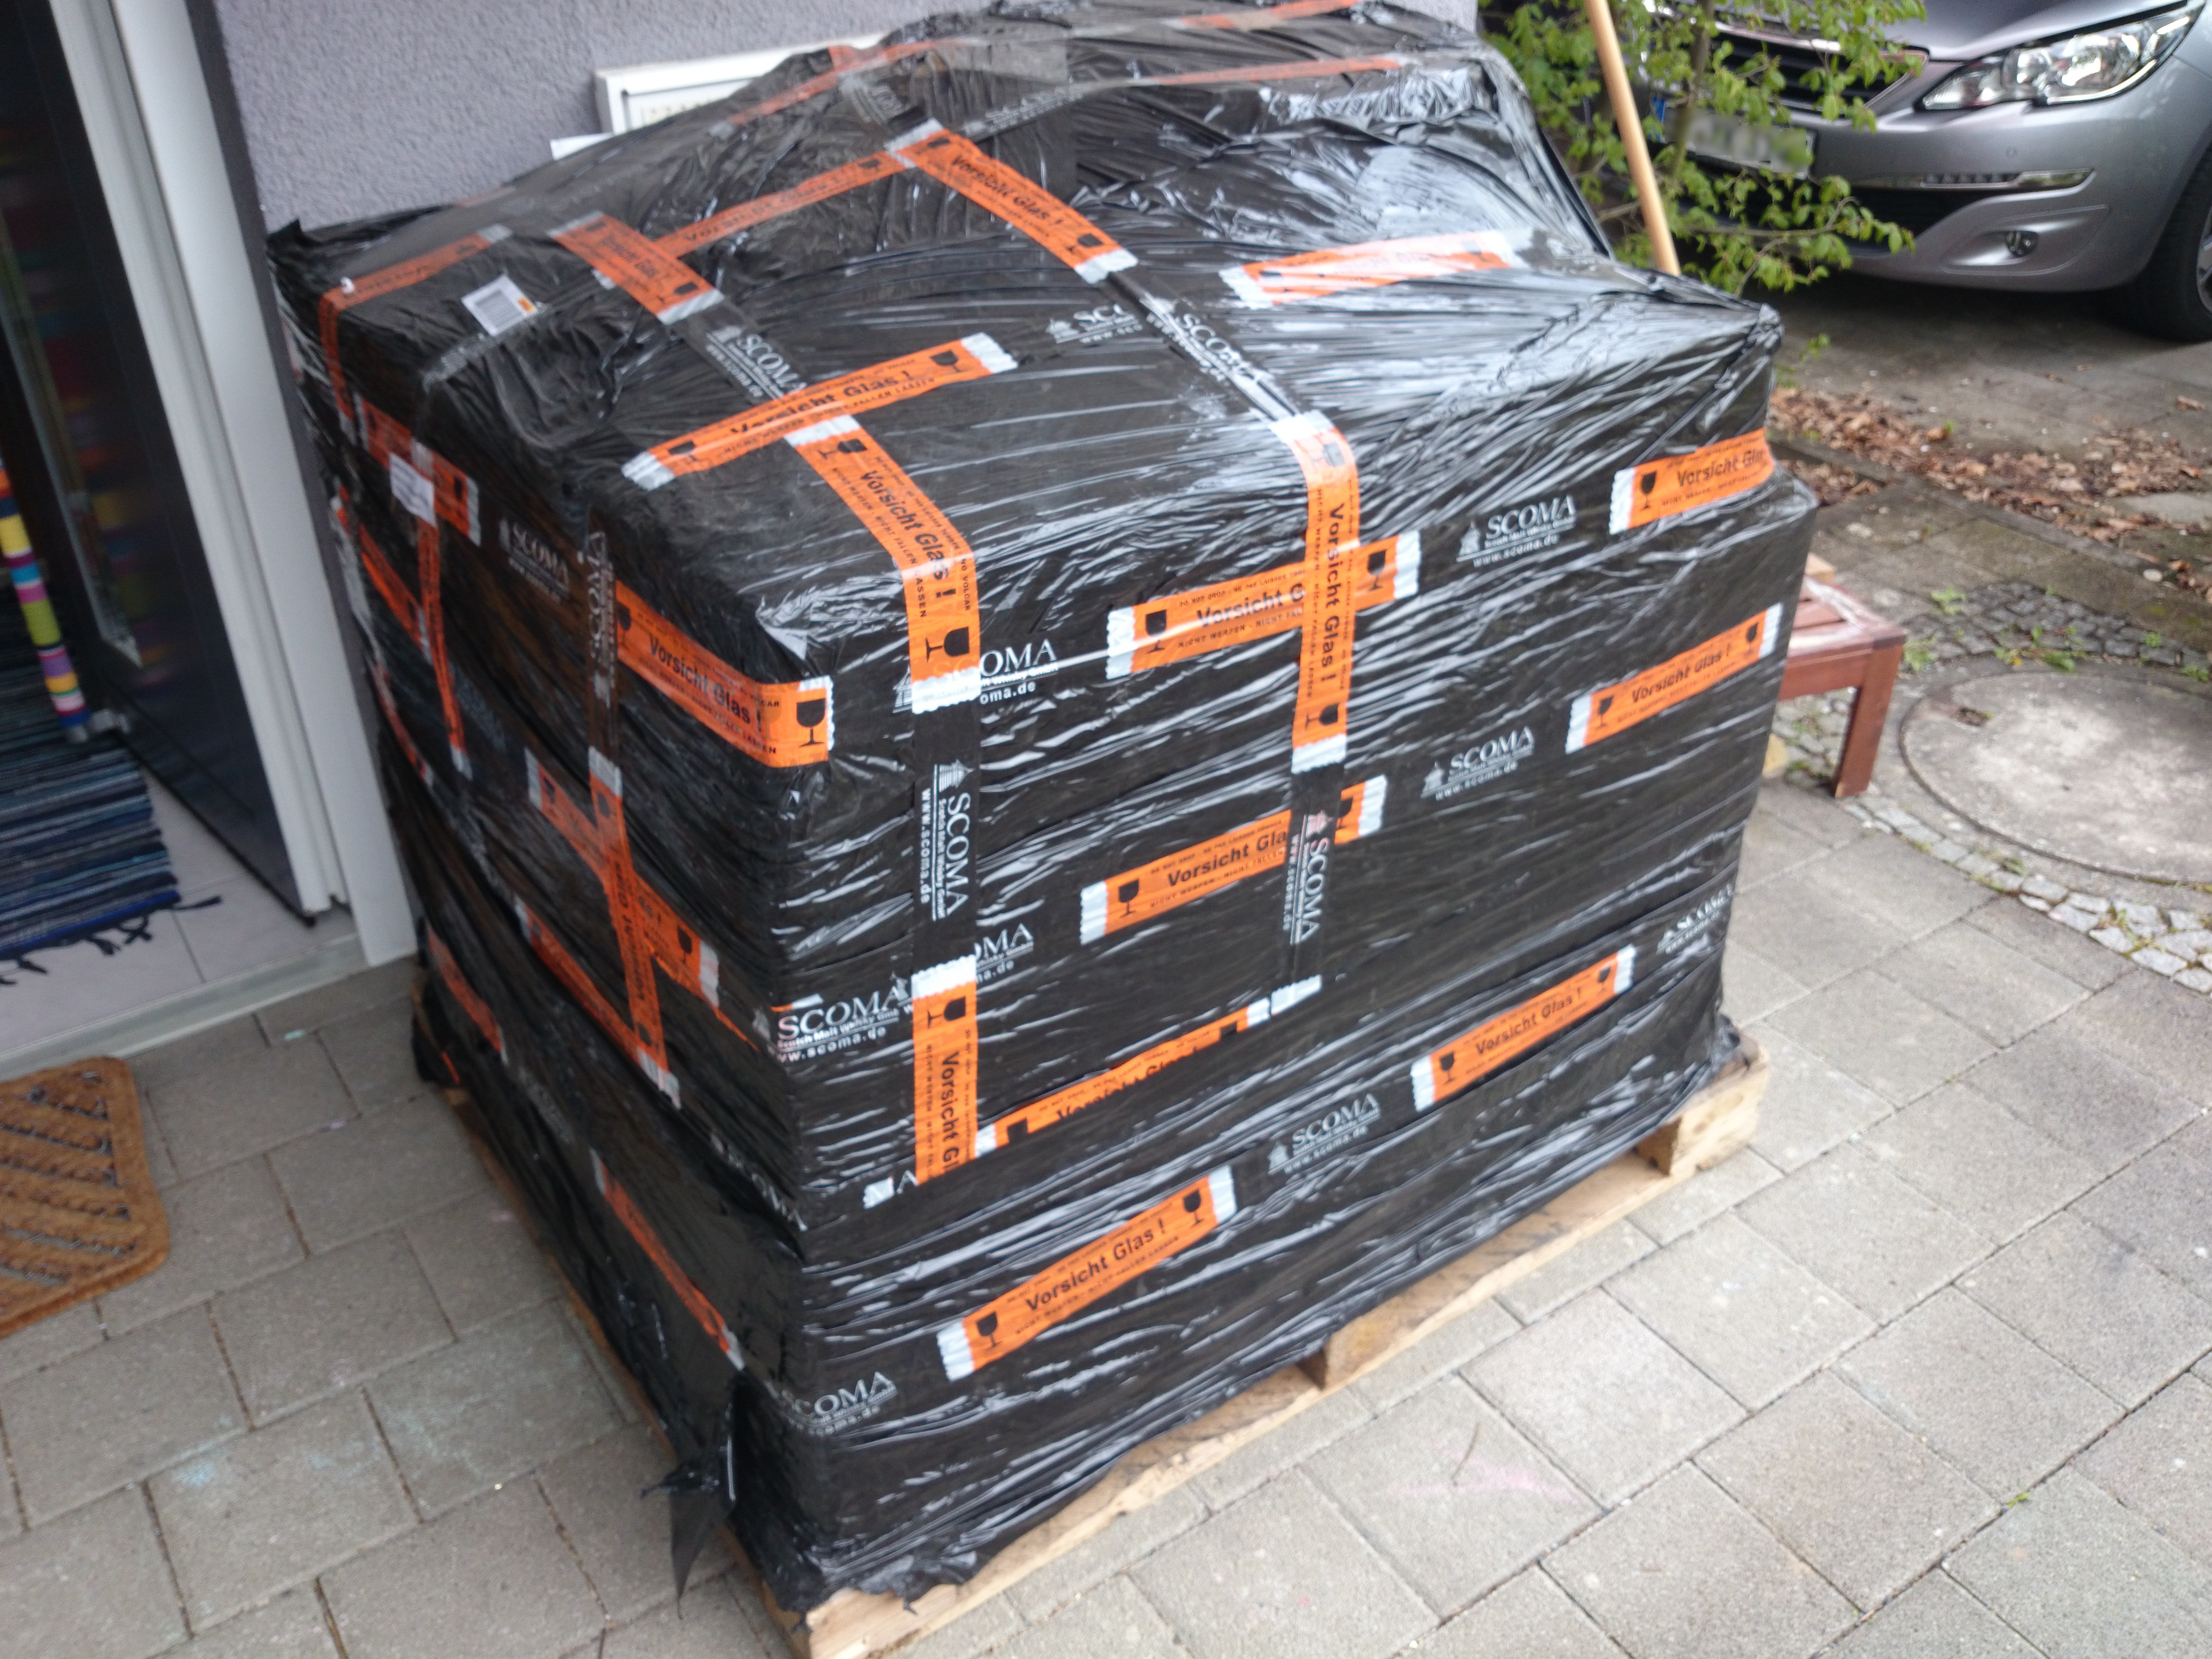
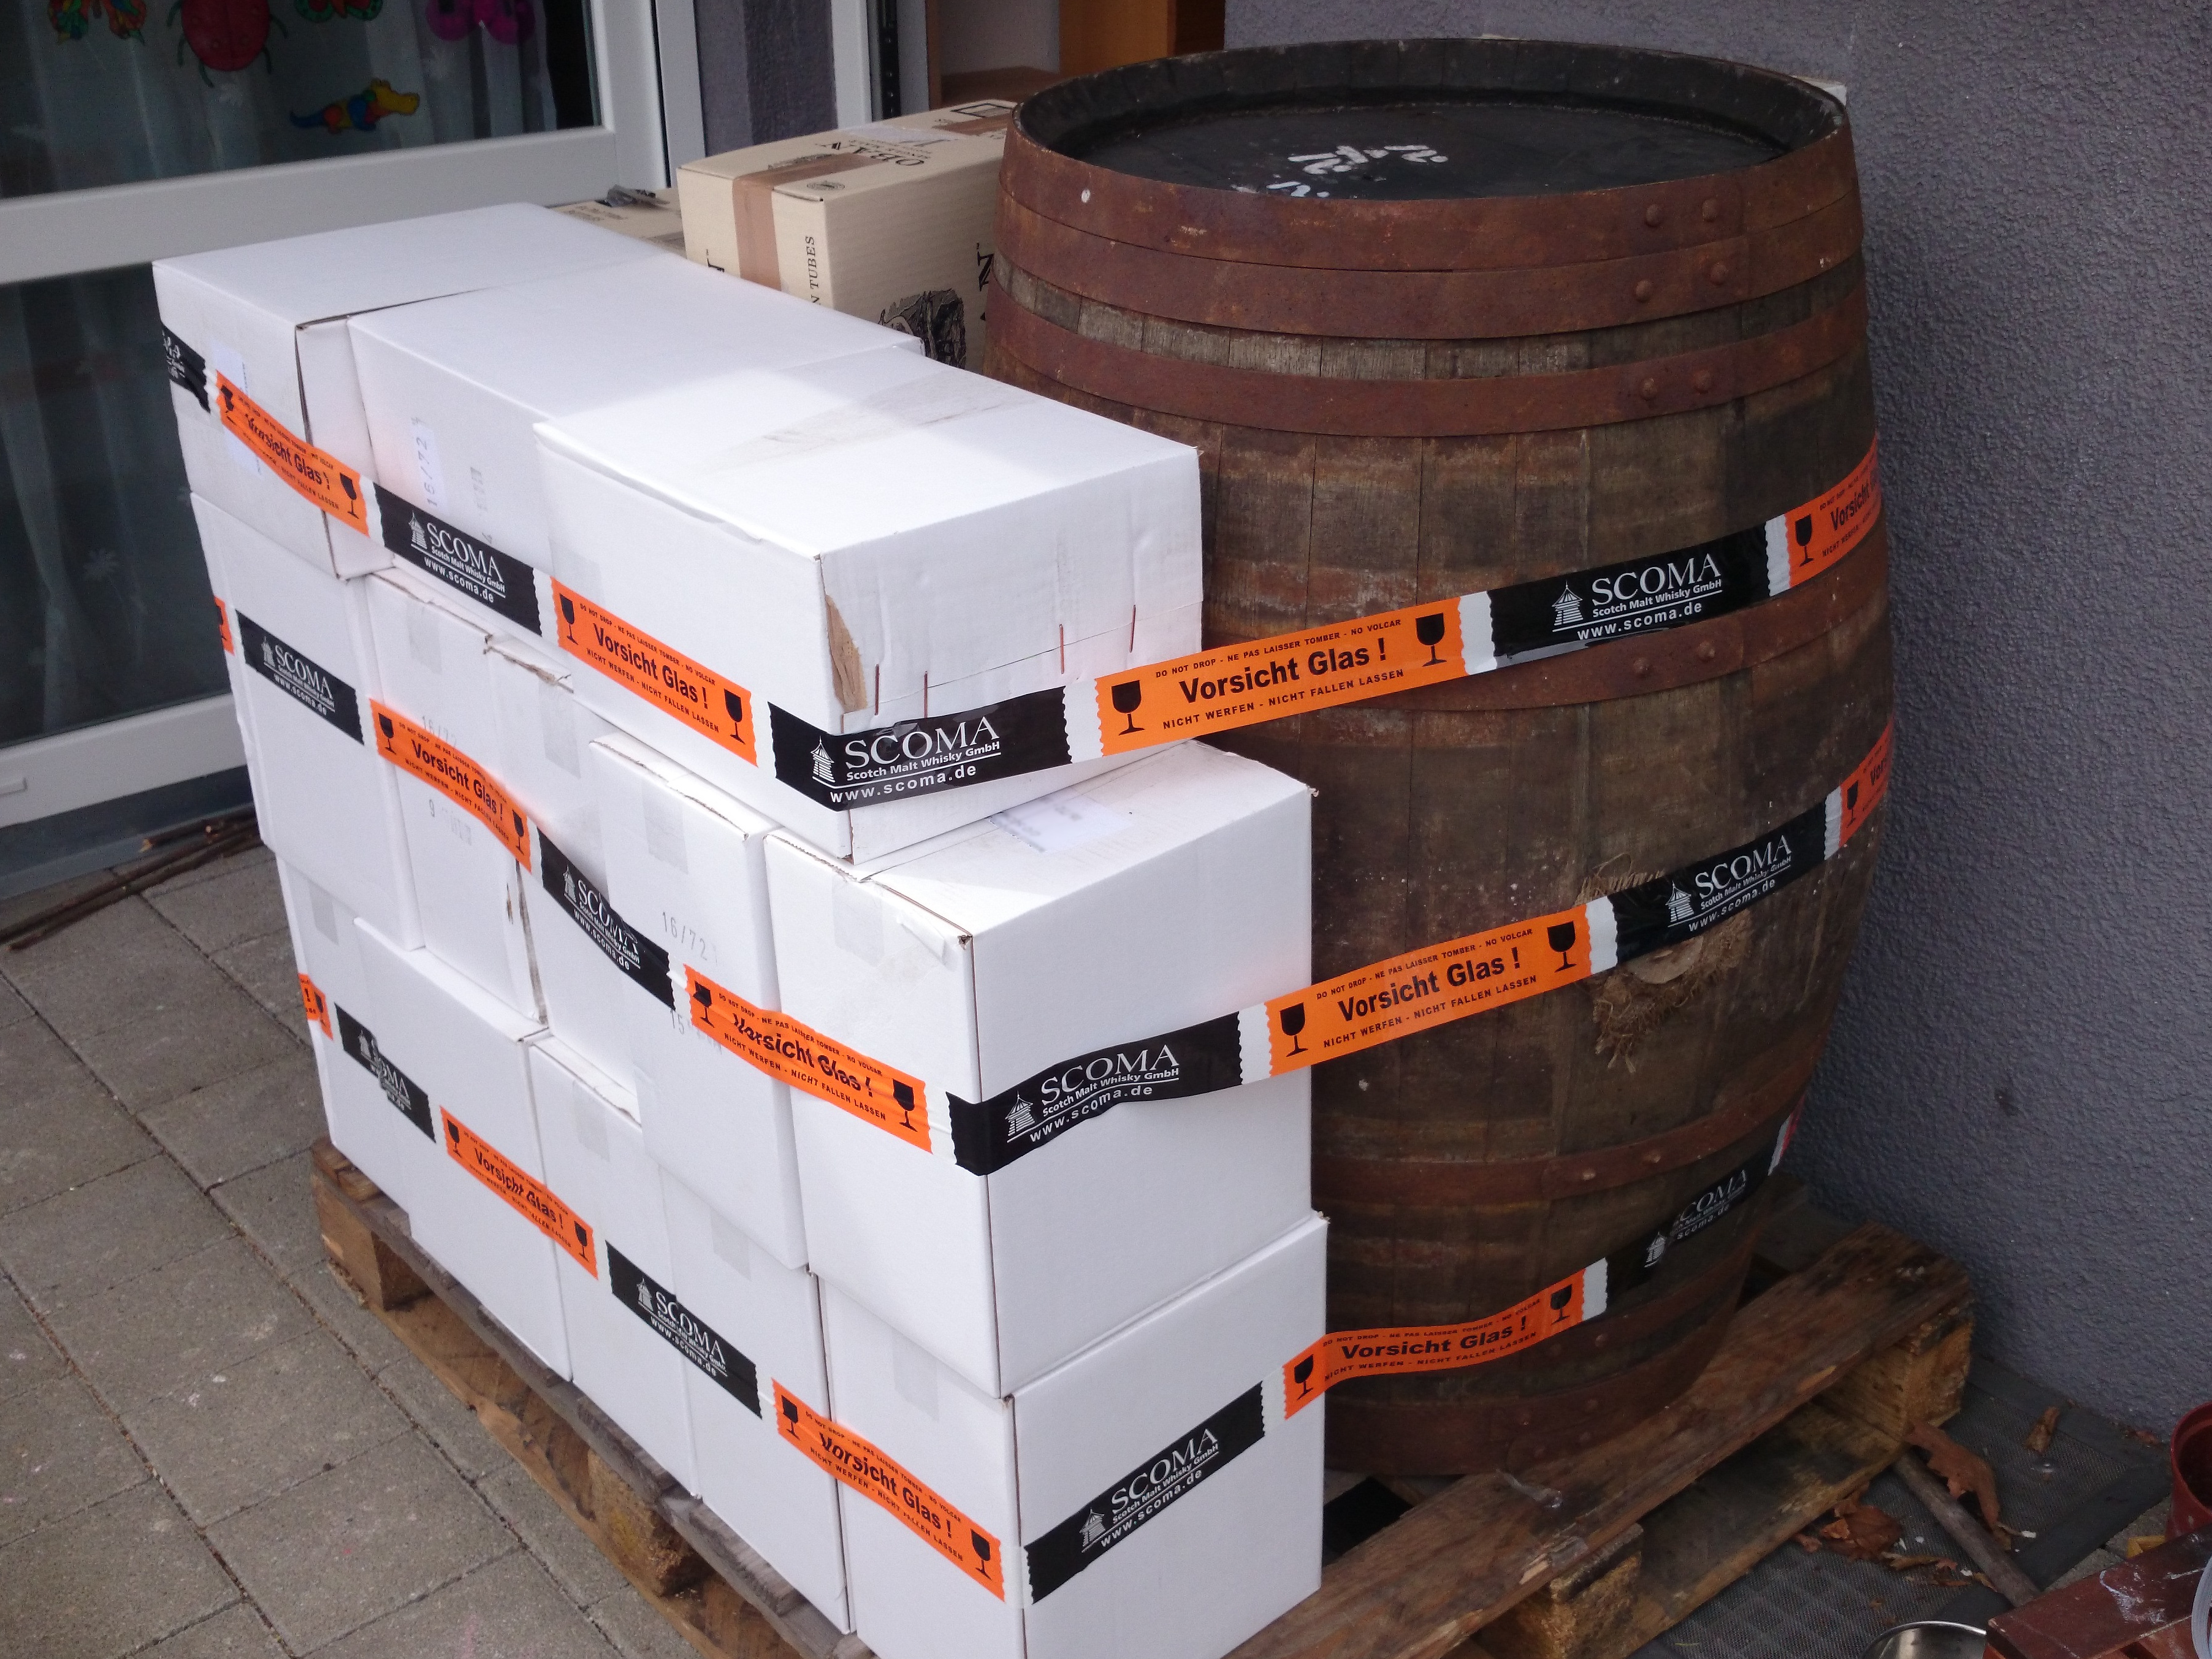


The delivery of the last bottles included the hogshead which is still in front of my house. Standing in the rain in front of my house the original labelling started to appear and it seems to origin from Dublin.

No 121
L.G.&Sons Ltd
u 747
CAP. 250 CONT 253
CELEBRATION CREAM
NE-42
DUBLIN
N 267
The whisky we got is really good, especially the bottling after 15 years. Being cask strength means you usually have to add a few drops of water.
Overall it was a really fun experience, especially to how many different people you have to talk to get everything shipped to our place. I am happy that I was asked to join this group in 1999 and want to thank everyone involved.
This month’s come together will be held on 2019-05-08, 8pm not at our regular pub (see our mailing list for details).
When I started to include container migration into Podman using CRIU over a year ago I did not really think about SELinux. I was able to checkpoint a running container and I was also able to restore it later https://podman.io/blogs/2018/10/10/checkpoint-restore.html. I never looked at the process labels of the restored containers. But I really should have.
After my initial implementation of container checkpoint and restore for Podman I started to work on live container migration for Podman in October last year (2018). I opened the corresponding pull request end of January 2019. I immediately started to get SELinux related failures from the CI.
Amongst other SELinux denials the main SELinux related problem was a blocked connectto.
avc: denied { connectto } for pid=23569 comm="top" path=002F6372746F6F6C732D70722D3233363139 scontext=system_u:system_r:container_t:s0:c245,c463 tcontext=unconfined_u:system_r:container_runtime_t:s0-s0:c0.c1023 tclass=unix_stream_socket permissive=0
This is actually a really interesting denial, because it gives away details about how CRIU works. This denial was caused by a container running top (podman run -d alpine top) which I tried to checkpoint.
To understand why a denial like this is reported by top it helps to understand how CRIU works. To be able to access all resources of the process CRIU tries to checkpoint (or dump), CRIU injects parasite code into the process. The parasite code allows CRIU to act from within the process’s address space. Once the parasite is injected and running it connects to the main CRIU process and is ready to receive commands.
The parasite’s attempt to connect to the main CRIU process is exactly the step SELinux is blocking. Looking at the denial it seems that a process top running as system_u:system_r:container_t:s0:c245,c463 is trying to connectto a socket labeled as unconfined_u:system_r:container_runtime_t:s0-s0:c0.c1023, which is indeed suspicious: something running in a container tries to connect to something running on the outside of the container. Knowing that this is CRIU and knowing how CRIU works it is, however, required that the parasite code connects to the main process using connectto.
Fortunately SELinux has the necessary interface to solve this: setsockcreatecon(3). Using setsockcreatecon(3) it is possible to specify the context of newly created sockets. So all we have to do is get the context of the process to checkpoint and tell SELinux to label newly created sockets accordingly (8eb4309). Once understood that was easy. Unfortunately this is also where the whole thing got really complicated.
The CRIU RPM package in Fedora is built without SELinux support, because CRIU’s SELinux support until now was limited and not tested. CRIU’s SELinux support used to be: If the process context does not start with unconfined_ CRIU just refuses to dump the process and exits. Being unaware of SELinux a process restored with CRIU was no longer running with the context it was started but with the context of CRIU during the restore. So if a container was running with a context like system_u:system_r:container_t:s0:c248,c716 during checkpointing it was running with the wrong context after restore: unconfined_u:system_r:container_runtime_t:s0, which is the context of the container runtime and not of the actual container process.
So first I had to fix CRIU’s SELinux handling to be able to use setsockcreatecon(3). Fortunately, once I understood the problem, it was pretty easy to fix CRIU’s SELinux process labeling. Most of the LSM code in CRIU was written by Tycho in 2015 with focus on AppArmor which luckily uses the same interfaces as SELinux. So all I had to do is remove the restrictions on which SELinux context CRIU is willing to operate on and make sure that CRIU stores the information about the process context in its image files 796da06.
Once the next CRIU release with these patches included is available I have to add BuildRequires: libselinux-devel to the RPM to build Fedora’s CRIU package with SELinux support. This, however, means that CRIU users on Fedora might see SELinux errors they have not seen before. CRIU now needs SELinux policies which allow CRIU to change the SELinux context of a running process. For the Podman use case which started all of this there has been the corresponding change in container-selinux to allow container_runtime_t to dyntransition to container domains.
For CRIU use cases outside of containers additional policies have been created which are also used by the new CRIU ZDTM test case selinux00. A new boolean exists which allows CRIU to use “setcon to dyntrans to any process type which is part of domain attribute”. So with setsebool -P unconfined_dyntrans_all 1 it should be possible to use CRIU on Fedora just like before.
After I included all those patches and policies into Podman’s CI almost all checkpoint/restore related tests were successful. Except one test which was testing if it is possible to checkpoint and restore a container with established TCP connections. In this test case a container with Redis is started, a connection to Redis is opened and the container is checkpointed and restored. This was still failing in CI which was interesting as this seemed unrelated to SELinux.
Trying to reproduce the test case locally I actually saw the following SELinux errors during restore:
audit: SELINUX_ERR op=security_bounded_transition seresult=denied oldcontext=unconfined_u:system_r:container_runtime_t:s0 newcontext=system_u:system_r:container_t:s0:c218,c449
This was unusual as it did not look like something that could be fixed with a policy.
The reason my test case for checkpointing and restoring containers with established TCP connections failed was not the fact that it is testing established TCP connections, but the fact that it is a multithreaded process. Looking at the SELinux kernel code I found following comment in security/selinux/hooks.c:
/* Only allow single threaded processes to change context */
This line is unchanged since 2008 so it seemed unlikely that it would be possible to change SELinux in such a way that it would be possible to label each thread separately. My first attempt to solve this was to change the process label with setcon(3) before CRIU forks the first time. This kind of worked but at the same time created lots of SELinux denials (over 50), because during restore CRIU changes itself and the forks it creates into the process it wants to restore. So instead of changing the process label just before forking the first time I switched to setting the process label just before CRIU creates all threads (e86c2e9).
Setting the context just before creating the threads resulted in only two SELinux denials. The first is about CRIU accessing the log file during restore which is not critical and the other denial happens when CRIU tries to influence the PID of the threads it wants to create via /proc/sys/kernel/ns_last_pid. As CRIU is now running in the SELinux context of the to be restored container and to avoid allowing the container to access all files which are labeled as sysctl_kernel_t, Fedora’s selinux-policy contains a patch to label /proc/sys/kernel/ns_last_pid as sysctl_kernel_ns_last_pid_t.
So with the latest CRIU and selinux-policy installed and the following addition to my local SELinux policy (kernel_rw_kernel_ns_lastpid_sysctl(container_domain)) I can now checkpoint and restore a Podman container (even multi-threaded) with the correct SELinux process context after a restore and no further SELinux denials blocking the checkpointing or restoring of the container. There are a few SELinux denials which are mainly related to not being able to write to the log files. Those denials, however, do not interfere with the checkpoint and restoring.
For some time (two or three years) I was aware that CRIU was never verified to work correctly with SELinux but I always ignored it and I should have just fixed it a long time ago. Without the CRIU integration into Podman, however, I would have not been able to test my changes as I was able to do.
I would like to thank Radostin for his feedback and ideas when I was stuck and his overview of the necessary CRIU changes, Dan for his help in adapting the container-selinux package to CRIU’s needs and Lukas for the necessary changes to Fedora’s selinux-policy package to make CRIU work with SELinux on Fedora. All these combined efforts made it possible to have the necessary policies and code changes ready to support container migration with Podman.
This month’s come together will be held on 2019-04-03, 8pm not at our regular pub (see our mailing list for details).
This month’s come together will be held on 2019-03-13, 8pm not at our regular pub (see our mailing list for details).
I’ve connected the Arduino pro mini (328/5V) to my pcb. Of course it’s not directly soldered to the PCB but using a connector, so I can replace the parts that get bricked during development. I’ve downloaded the blink example using something like this. Directly after flashing it worked, but once I disconnected the flashing adapter it stopped. After remembering, that I’ve to short my optional filter in case it’s not assemble it works.
… an ohmic load (Thank you Axel) shows the same behavior (spikes on Vout) as seen in the previous post. Fortunately I’ve spent some space on the pcb for an optional filter that has now become mandatory.
The spikes do not change with load or input voltage. I took a closer look and they are much less random compared to what the screenshot looks like. They’re expected transient responses to the switching. currently they’re around +- 1,5V which is too much.
Unfortunately the additional inductor and capacitor for the filter where not part of the part delivery I’ve received. The delivery date is changing once a week and is oscillating around 30th of march.
But in the meantime I still can try to get the arduino running. It has it’s own voltage regulator and an additional capacitor at the input, so the currently “dirty” Vout will not be an issue.
This month’s come together will be held on 2019-02-13, 8pm not at our regular pub (see our mailing list for details).
I’ve run the power supply under load. As you can see I’ve

The load was a florist wire that accidentally had the correct length to have a resistance of 10 Ohm (Just in case: R=U/I). So in addition to the resistance it also is an inductive load due to the geometric nature of florist wire.I did not want to unwind it.

Three things can be seen:
The result of the short test is that I’ve not noticed heating on the pcb or the parts even though I’m running the circuitry at the upper boundary of what it’s designed for. That’s good. For a real test with reasonably long duration (> 1 day) I need a fire proof environment, that also contains the designated housing, so that air turbulence can not cool down the pcb and of course a possibility to measure and log the temperature over time.
After a (luckily unsuccessful) search for short cuts I have connected the power supply part on the pcb to an external power supply. The following screen shot shows that the power supply becomes operational at around 12V.

Unfortunately I do not have a nice load to check the behavior close to the 0,5A the power supply is designed for. But I have small light bulb that causes a load of around 30 mA. Running the power supply at this load for some minutes did not cause any noticeable increase of the temperature. That’s a good sign. I also tried a short cut between Vout and GND. Nothing bad happened. The MAX5033 detected the short cut and shut off, before trying to start again. After removing the short cut it went back to normal. This state I did not try for a longer time. The effects were visible on the oscilloscope and audible. Typically the inductors start to “sing” under such conditions.
My external power supply can only provide 20V, but I assume, that if everything works at 20V it’ll also run at 24V. So the next step before actually connecting the arduino is to run the power supply for an extended period of time (~ 1 day) with high load and 24V input.
After a long time I’ve reactivated my solder iron. Since I’ve done that without additional flux (apart from the content of the solder) the result looks accordingly. My next step will be testing the circuitry.
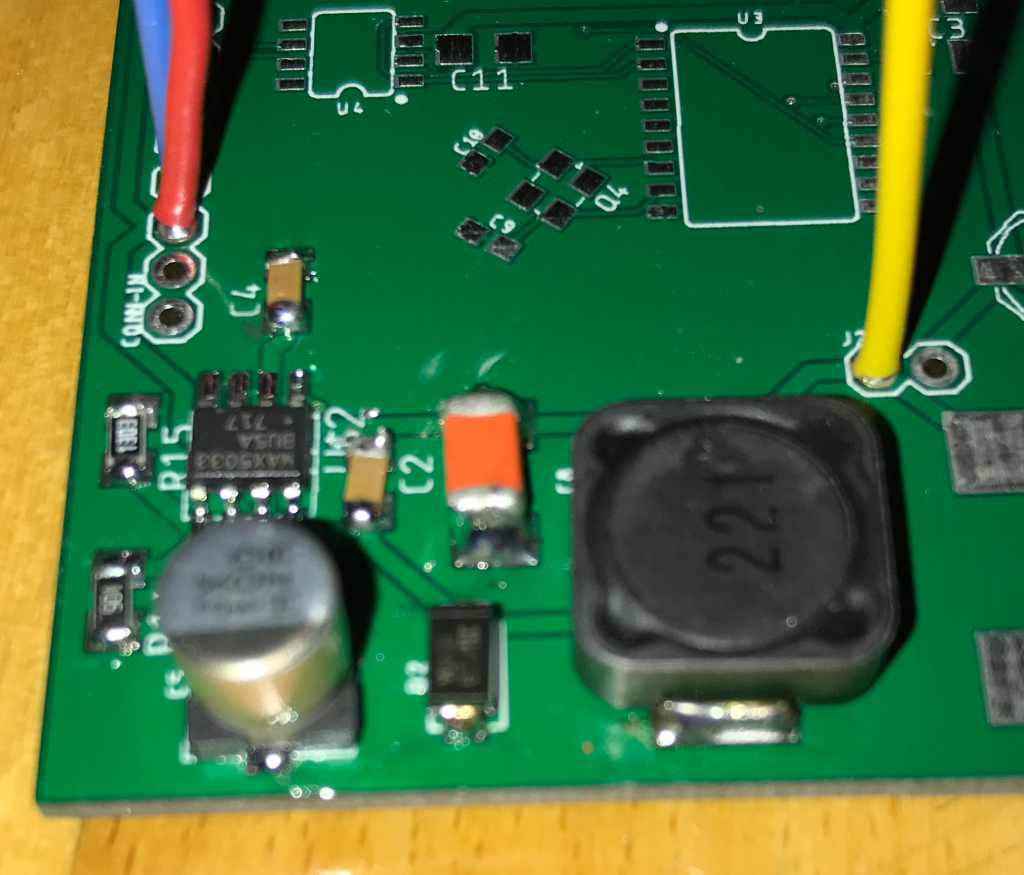
Surprisingly for me the soldering of the IC was the easiest. I assume, that the pads were perfectly sized for hand soldering. The resistors and small capacitors look horrible because I did not use tweezers. The large capacitor’s solder pads are a bit too small for hand soldering and the inductor needs a higher temperature because of the relatively high mass.
I also noticed that I’ve to improve my documentation. More information on the pcb, the layout and the circuit diagrams are required to simplify the soldering and reduce the time spent on searching the parts and their orientation. For example having the small dot that indicates pin 1 of an IC would be very helpful. Also the orientation of the larger capacitors and the exact location and size of the text on the pcb.
After ordering the prototype pcbs in China on Saturay they arrived on the following Wednesday. I even got one more pcb than I’ve ordered. The service is very fast and the price more than acceptable. So based on this single sample I can recommend allpcb.com. Apart from the silkscreen, the pcb looks good. But I’ve put exactly zero effort in it, so it’s OK. The picture shows the Arduino pro mini plugged in, but not yet soldered.
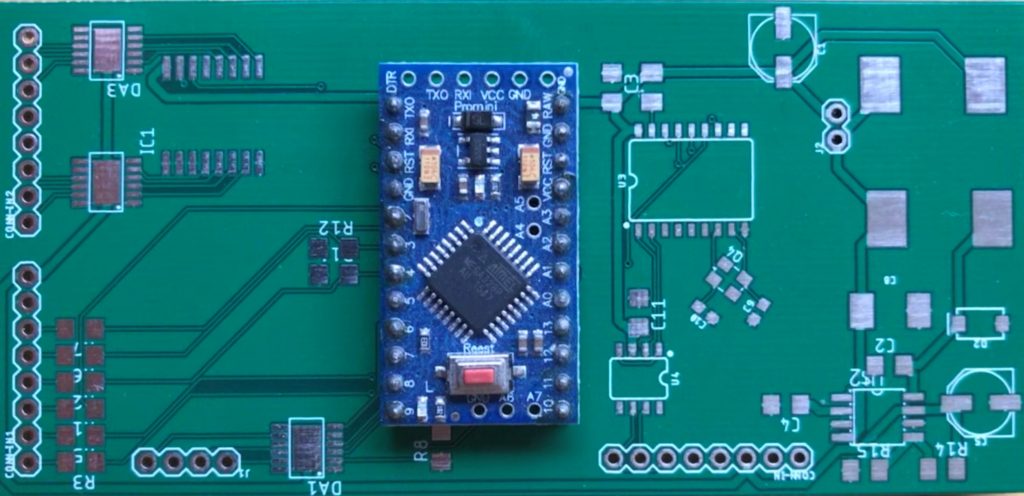
The next step is to solder the power supply parts (visible here on the very right) and the optional filter against ripple. After that the difficult part, soldering the oscillator, will be the next step.
This month’s come together will be held on 2019-01-16, 8pm not at our regular pub (see our mailing list for details).
Of course loxone offers the possibility to connect the miniserver to the internet and also an app for mobile devices to connect to your smart home via internet. The problem is the connection is not as smart as expected. heise.de had a short and a long story about that.
So the first step is not to connect the system to the internet at all. The second step is to have a separate network for the home automation with very restricted access in both directions. Of course I want to use something like ntp ro make sure the time is always correct. But what I do not want is that the system is accessible from the outside.
Another reason to restrict the internet access for the miniserver is that after loxone provides a software update and the miniserver becomes “aware” it’ll start complaining that the software sould be updated. This is acceptable for the people who run the installation, but the normal user should not be bothered with that kind of information.
With the help of Jonas as reviewer I’m one step closer to the solution that was missing in Switch selection. The first version of cancombase is finsihed.
The 5×10 cm pcb fits behind the switches in a double plug socket. The 4 pairs in the CAT cable will be used in the following way:
A description of the PCB is available here. It’s based on the arduino pro mini. Or an available clone of it.
The gap between the now introduced CAN and the loxone miniserver will be filled (most probably) with a rasperry pi that converts the CAN messages to UDP messages the miniserver is able to read.
Apart from reading switch states (maybe with double-click detection) and writing to feedback LEDs the next version of cancombase will also contain a temperature sensor.
Our mirror server has been generating download maps for almost 10 years (since August 2009). This is done by going through all our download log files (HTTP, FTP, RSYNC) and using GeoIP and the Matplotlib Basemap Toolkit to draw maps from where our mirror server is being accessed.
I have taken the output from almost ten years and created the following animations. The first animation shows clients accessing all mirrored content:
As the mirror server is running Fedora it is updated once a year which might result in an updated version of Basemap once a year. The update usually happens in December or January which sometimes can be seen in the animation when the output changes. Updating to Fedora 27 (December 2017) resulted in a Basemap version which started to draw different results and the last update to Fedora 29 (December 2018) can also be seen as switching to Python 3 removed most of the clients from the map (only visible in the last second of the animation). It seems some of the calculations are giving different results in Python 3.
In addition to the map showing the accesses for all mirrored data, there is also an animation for clients accessing files from our Fedora mirror:
The interesting thing about only looking at clients accessing Fedora files is that it can be seen that most accesses are actually from Europe. This seems to indicate that Fedora’s mirroring system partially succeeds in directing clients to close by mirrors. Looking at the location of clients accessing our EPEL mirror it seems to work even better. This is probably related to the much larger number of existing EPEL mirrors:
Another interesting effect of upgrading once a year can be seen around 6:42 in the EPEL animation. After upgrading to Fedora 25 the generated maps where upside down for a few days until I was able to fix it.

Upgraded to Fedora 29 and finally enabled SELinux.
This month’s come together will be held on 2018-12-05, 8pm not at our regular pub (see our mailing list for details).
