I’ve connected the Arduino pro mini (328/5V) to my pcb. Of course it’s not directly soldered to the PCB but using a connector, so I can replace the parts that get bricked during development. I’ve downloaded the blink example using something like this. Directly after flashing it worked, but once I disconnected the flashing adapter it stopped. After remembering, that I’ve to short my optional filter in case it’s not assemble it works.
Tag: arduino
Prototype
After ordering the prototype pcbs in China on Saturay they arrived on the following Wednesday. I even got one more pcb than I’ve ordered. The service is very fast and the price more than acceptable. So based on this single sample I can recommend allpcb.com. Apart from the silkscreen, the pcb looks good. But I’ve put exactly zero effort in it, so it’s OK. The picture shows the Arduino pro mini plugged in, but not yet soldered.
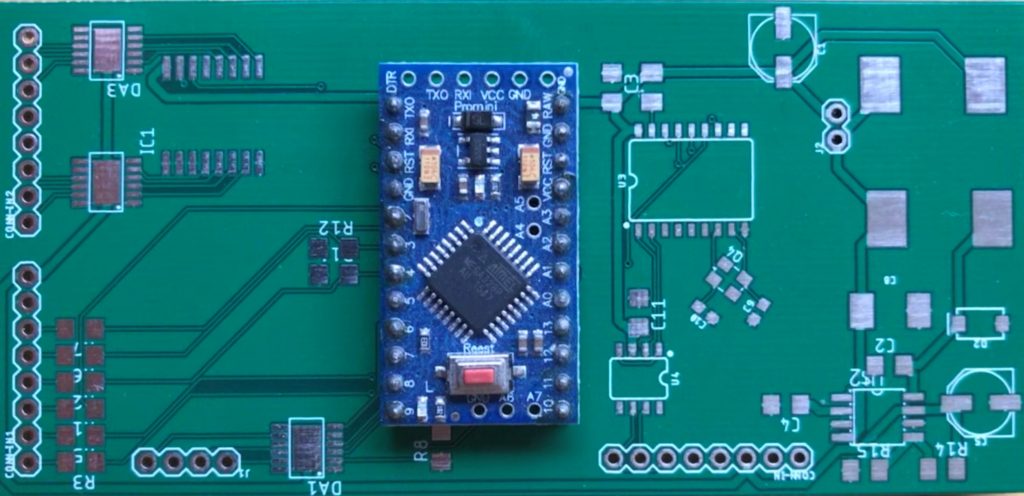
The next step is to solder the power supply parts (visible here on the very right) and the optional filter against ripple. After that the difficult part, soldering the oscillator, will be the next step.